How to Make Your Own Chocolates at Home

Sticking to a healthy diet is an important step in any skin care routine, but self-care is important too.
And indulging in chocolate in moderation is actually a better choice than you may think.
Cocoa powder is a source of polyphenols (natural antioxidants), is known to be a rich source of minerals, including magnesium, copper, potassium, and calcium, and is a great skincare ingredient.
We're sharing how to make your own chocolates at home -- it takes a few steps and can be done in under half an hour!
Step 1: Buy melting chocolates

Buy a bag (or two) of melting chocolates or chocolate chips. They come in many different colors and flavors, so pick your favorite.
Step 2: Pick your chocolate mold
What shape do you want your chocolate to be? From letters, shapes to animals and more, there are so many different molds that you can find at your local craft store or online.
If you don’t want to use a mold, another option is to spread the chocolate on a baking pan after it is melted – you can break off pieces after it has cooled.
Step 3: Melt the chocolate

Put your chocolate in a microwave safe bowl.
Start by microwaving the chocolate for one minute, and then stir it.
Continue microwaving in thirty second intervals until the chocolate is completely melted and there are no lumps.
Step 4: Pour chocolate into molds and place in freezer.
Before the chocolate hardens, pour it directly into the molds. Be careful not to overfill!
After you fill each mold, gently but firmly tap it on a flat surface to even the chocolate layer.
(Tip: Some molds are meant to make chocolate lollipops. If your mold has a small notch in the bottom, place a lollipop stick in when the mold is halfway filled, then fill in the rest of the chocolate.)
Place in freezer for 15 minutes, making sure tray is completely flat.
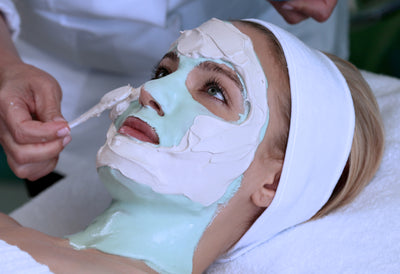
Step 5: Face mask time!
We know what you’re thinking -- how do face masks fit in with making chocolate?!
But as you’re waiting for your chocolates to harden in the freezer, it’s the perfect amount of time to put on a face mask!
Try our Chocofina Moisturizing Mask or Chocolate Espresso Face and Body Sugar Scrub to compliment the process. (Learn about the skin benefits of cocoa.)
Step 6: Remove the chocolates
After making sure the chocolates have completely hardened, gently pop them out of their mold. Remove any excess around the edges of your shape.
Step 7: Enjoy!

Yum – chocolate time! Who knew making your own chocolates at home could be so easy? Enjoy your treats (in moderation, of course!)


